Test #1 (leaking)
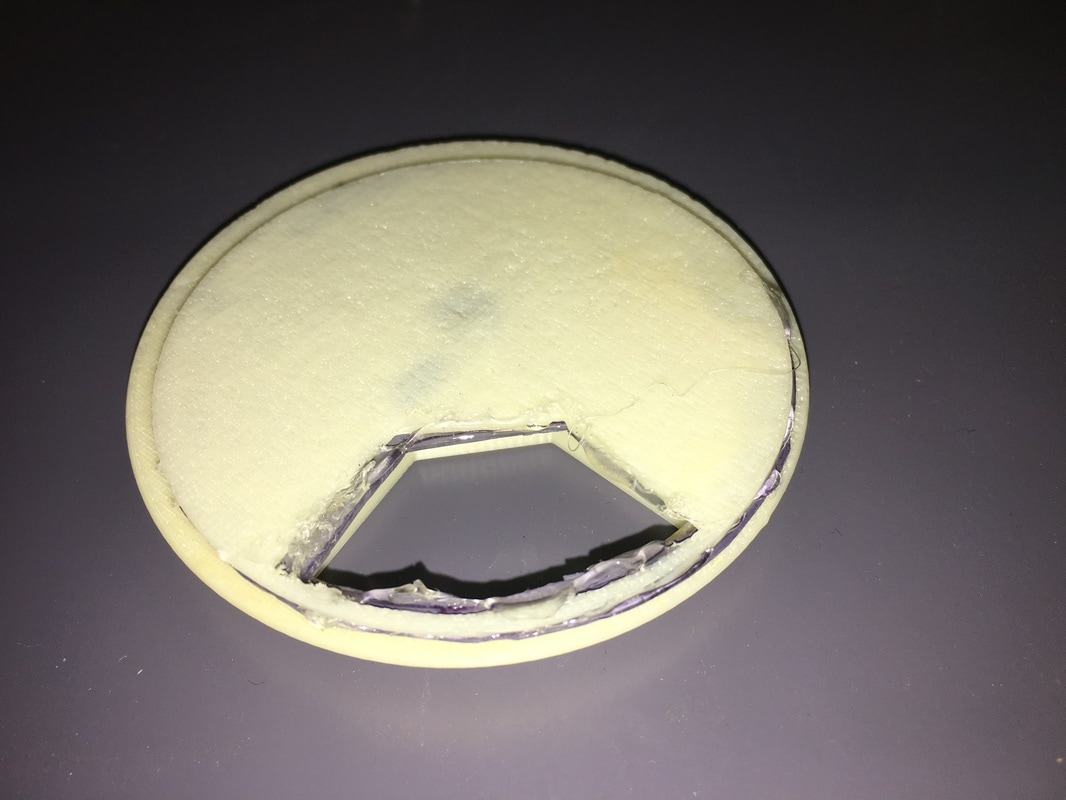
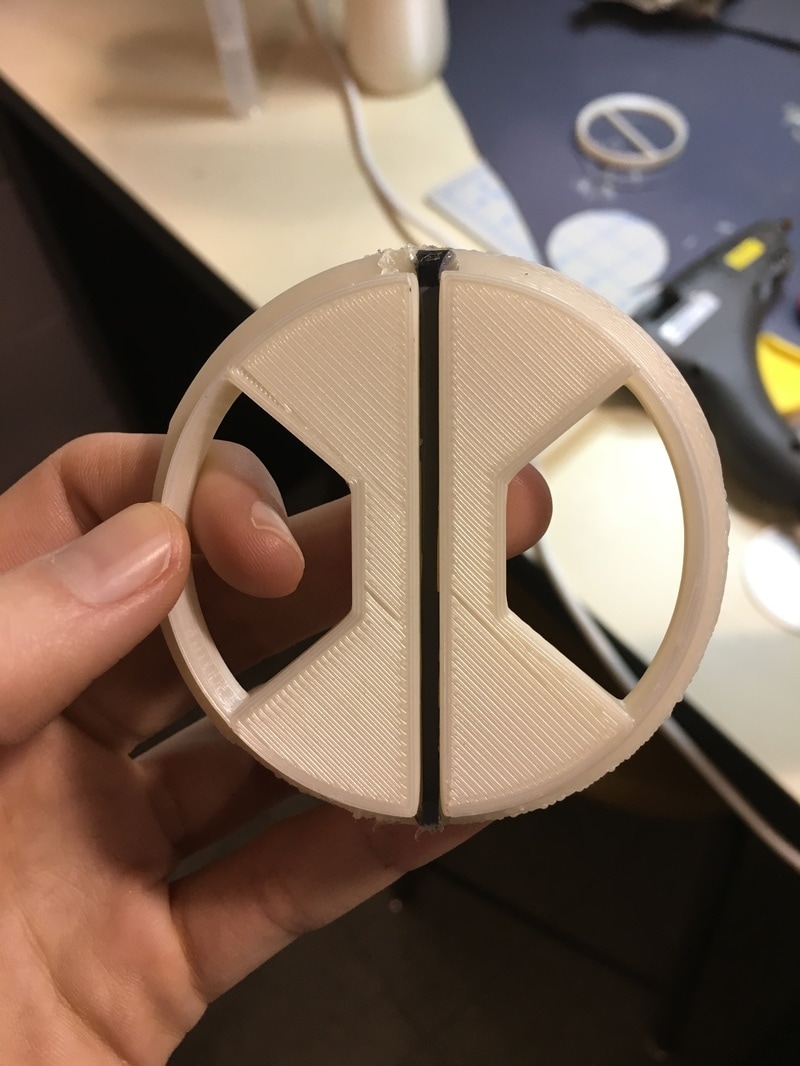
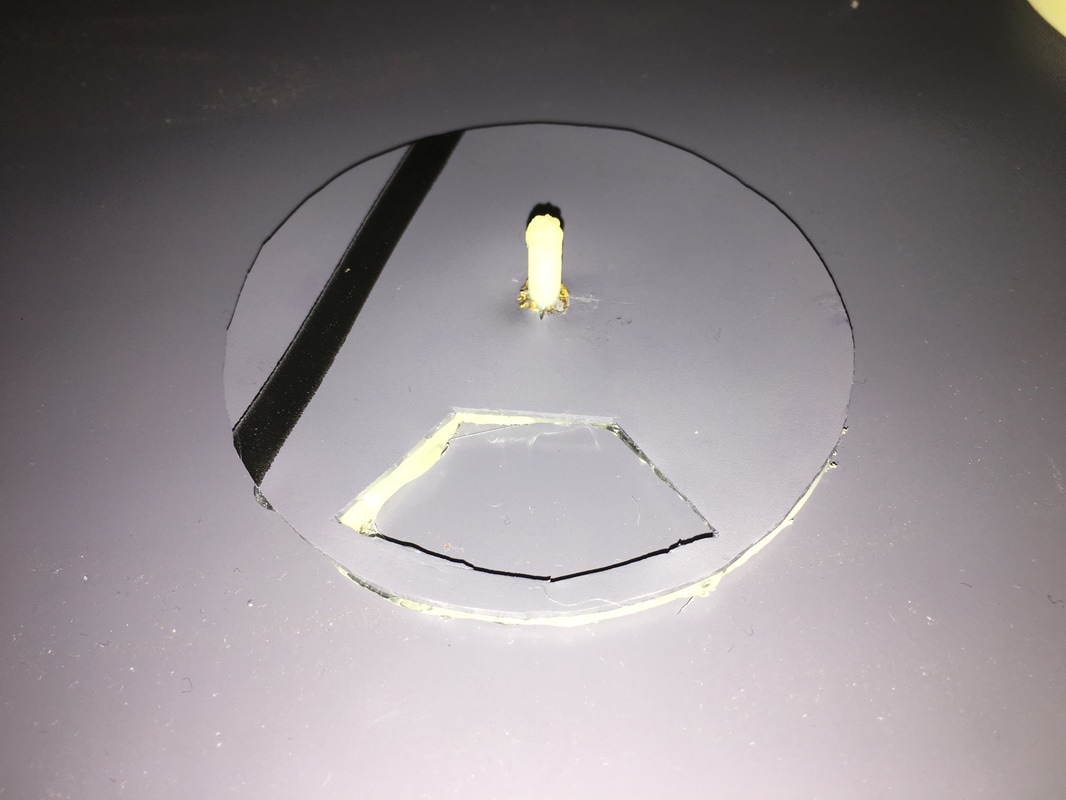
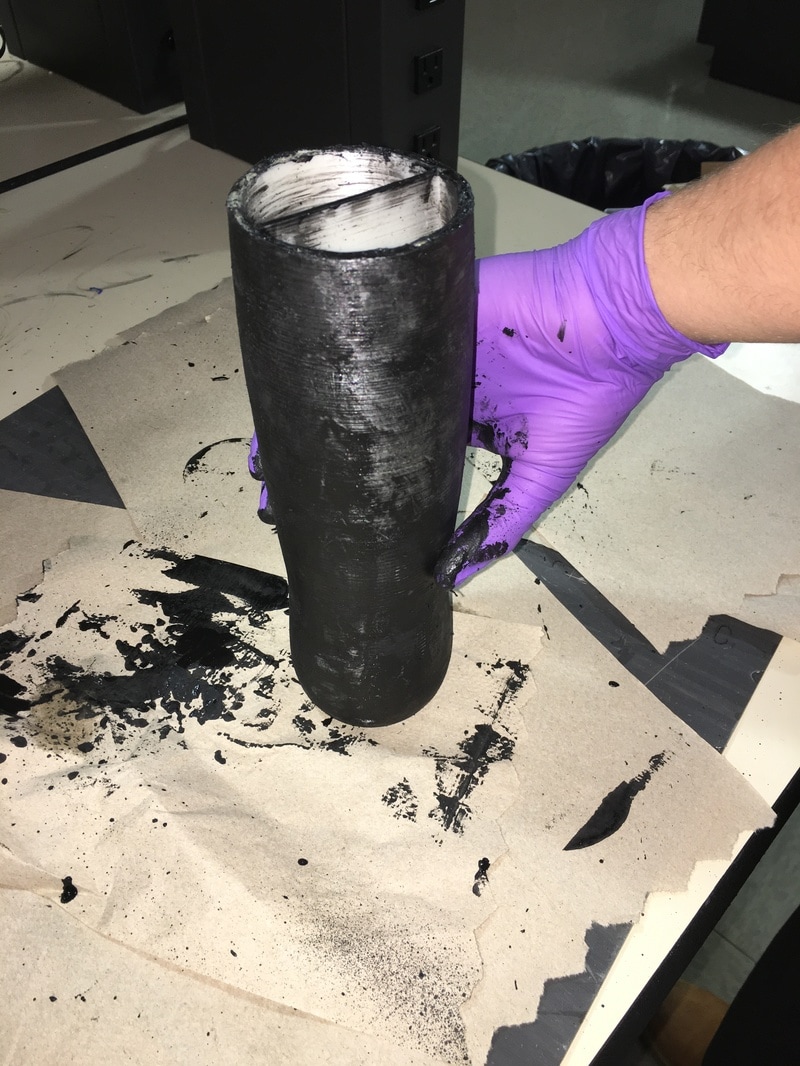
The purpose of this test was to be able to find all of the spots on the bottle that liquid was able to leak through, and to also try different ways of sealing the bottle. We found when we left the bottle sitting overnight with water in it that there is some spot on the bottle that the water was able to move through, and since we couldn't identify an exact spot, we decided to coat the entire exterior of the bottle in a spray on rubber seal. Another issue we found was with the lid. The dimension for the lid wasn't quite right when we had it printed, so it did not fit perfectly onto the bottle as we had intended. We cut the rubber into different shapes to try and seal it off as best we could, but the issue was resolved when we got the lid reprinted with the proper dimensions. Another issue with the lid was where the top layer and the bottom layer simply sit on top of each other, it allowed water to spill across from the opposite opening. To fix this we just cut out a piece of rubber seal and attached it to the top lid.
|
|
Test #2 (insulation)
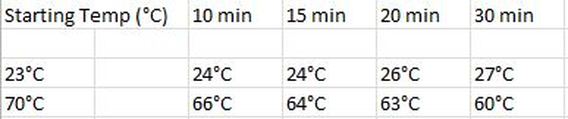
In this test we found that the bottle is not insulated as well as we want it, but the results were what we expected based on the material that was used to print the bottle. The only modifications that we had for this test would be using a different material for the bottle. Once the injection molded bottles and the metal bottles come in, this test can be repeated to see the actual insulation capabilities of our design.
Summary
These tests provided very useful information that was then used to modify our prototype. The issue with the leaking was expected, and we knew that there would have to be seals made to prevent it from leaking. As for the insulation, we expect it to work better with the injection molded product. Because of us having to use a 3D printed version, it works well enough but still is not up to the standards that we hope to get it to. With all of the modifications made, I feel like our prototype works well overall.
